symblox.github.io

Symblox Quick Guide for Mobile
-
Setting up Velas DeFi Wallet
a. Installing Velas DeFi Wallet
- For Android users: Download the apk here.
- For iOS users: From your iPhone, go to https://symblox.io and click the iOS link at the bottom of the page.
b. Creating a new wallet.
-
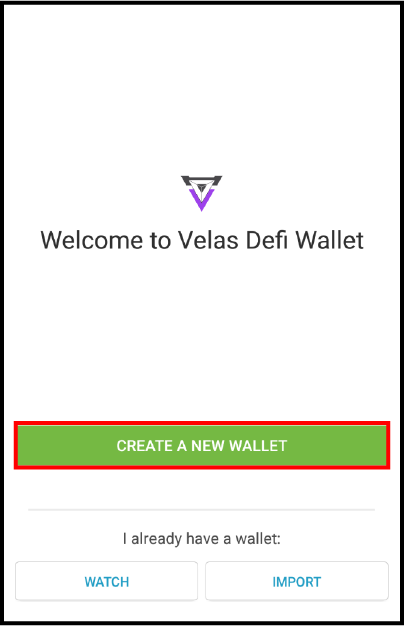
Load Velas DeFi Wallet. If app is newly installed, click ‘CREATE A NEW WALLET’
c. Importing address
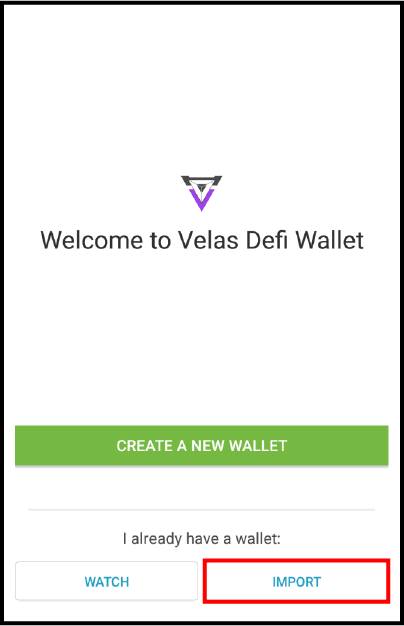
- To import a previous address, click ‘IMPORT’.
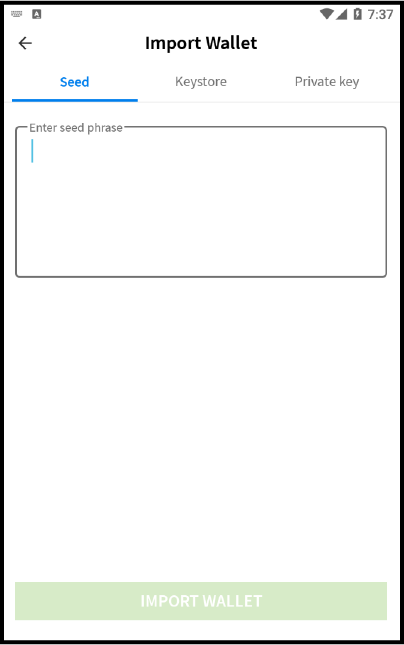
- Restoring with 12-word recovery seed: Type out the 12-word recovery seed with a space in-between each word then click ‘IMPORT WALLET’.
Note Velas DeFi Wallet only accepts 12-word recovery seed.
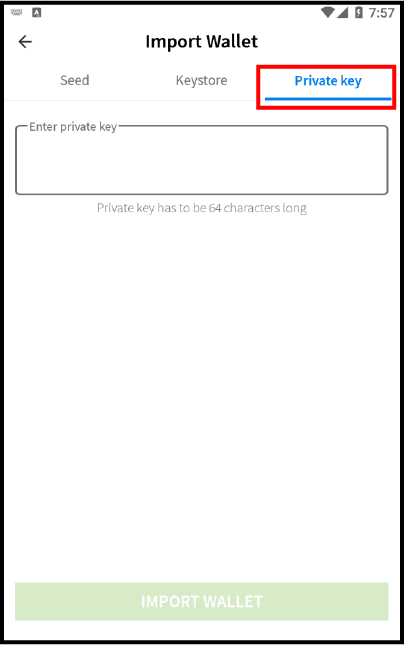
- Restoring with Private Key: Click ‘Private key’ tab, paste your private key in the text field, then click ‘IMPORT WALLET’.
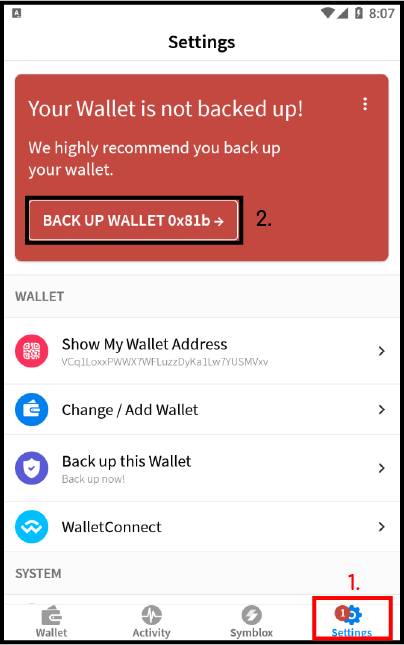
d. Backing up Recovery Seeds
- Click on ‘Settings’ tab, then click ‘BACK UP WALLET’.
- Click ‘Back up my wallet’.
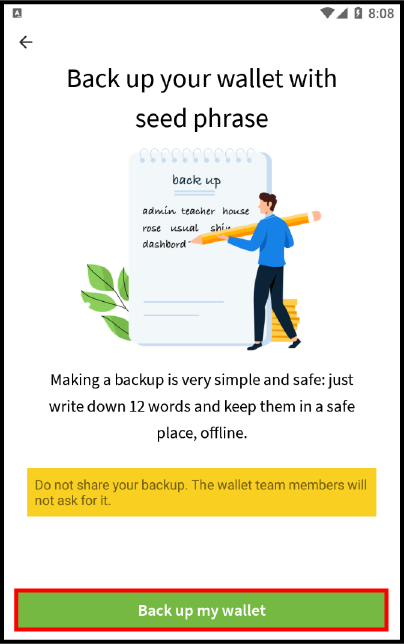
- Save your 12-word recovery seed to paper. Click ‘OK, I wrote this down’ when saved.

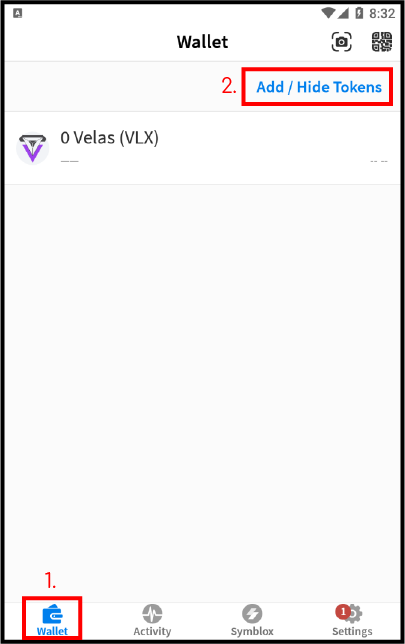
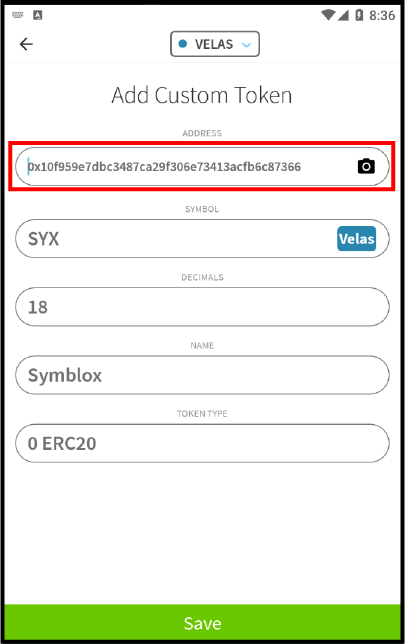
e. Adding SYX VRC-20 token
- Click on ‘Wallet’ tab, then click ‘Add / Hide tokens’.
-
Click ‘+’ sign.
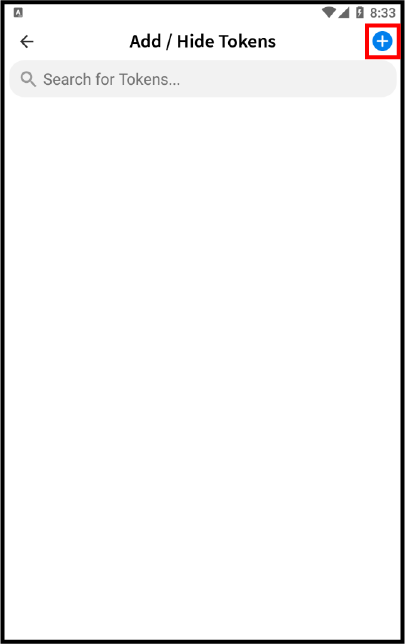
- Paste the contract address ‘0x2de7063fe77aAFB5b401d65E5A108649Ec577170’ into the address field. The other fields will automatically be filled after pasting the contract address. Click ‘Save’ when done.
-
Symblox dApp
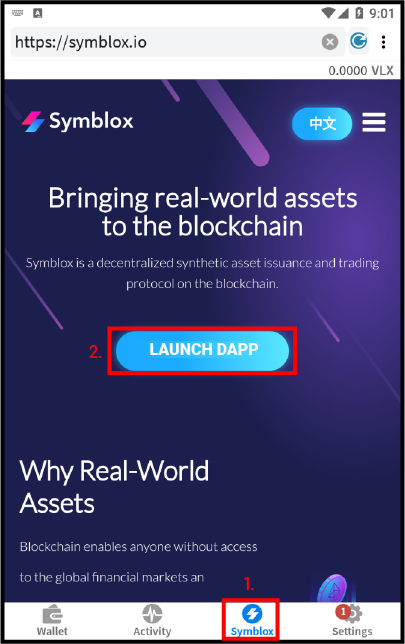
a. Accessing Symblox dApp
- Click on ‘Symblox’ tab, then click ‘LAUNCH DAPP’.
- Optionally, to access Symblox homepage, click
 in the upper-right corner to access the menu. From the menu, click ‘Goto Homepage’.
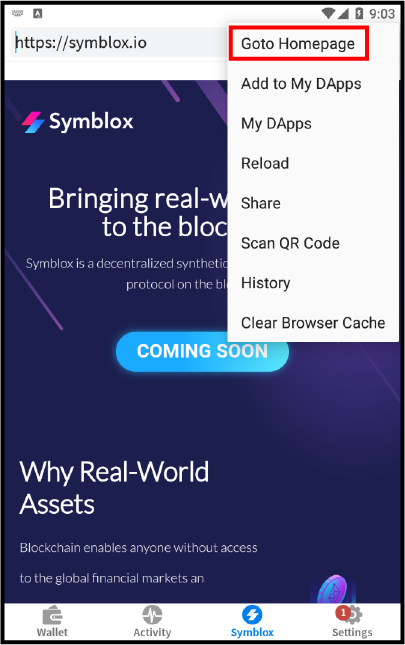
- Symblox dApp can also be accessed directly by typing in the address field: https://app.symblox.io
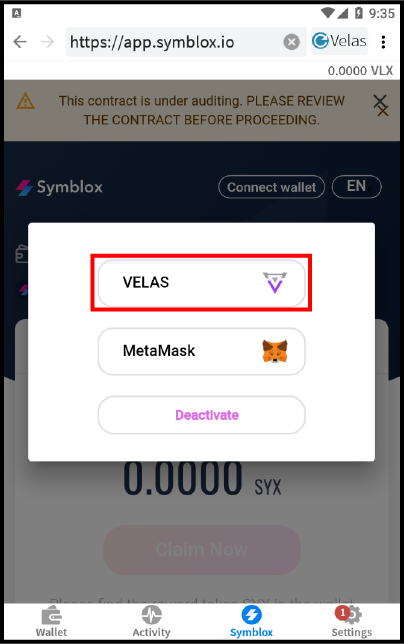
b. Connecting Wallet
-
For security purposes, Symblox dApp cannot access the balance of your wallet without permission. To allow Symblox access to your wallet balance, click ‘Connect wallet’. Note: Allow some time for Symblox to connect to your wallet. Time varies depending on Velas network congestion.

-
Choose ‘VELAS’ from the option list.
c. Adding liquidity to the Seed Pool
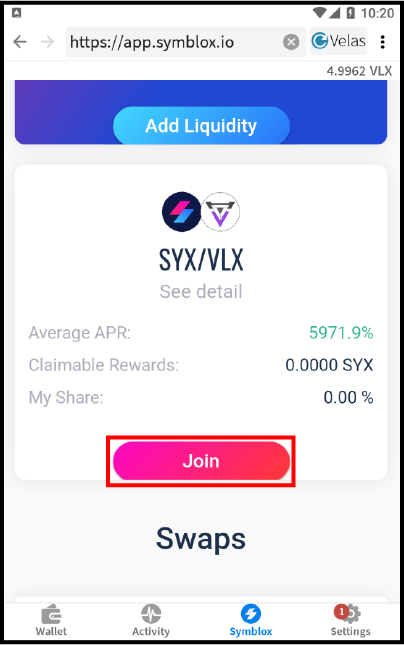
- Adding liquidity to the Seed Pool requires joining first. Scroll to the blue box section of the Rewards Pools and click ‘Join’.

-
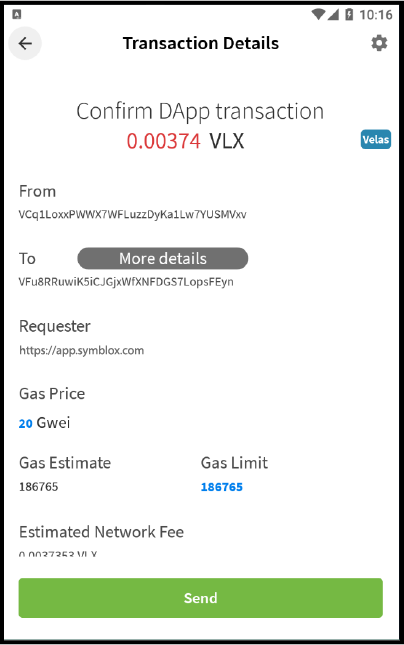
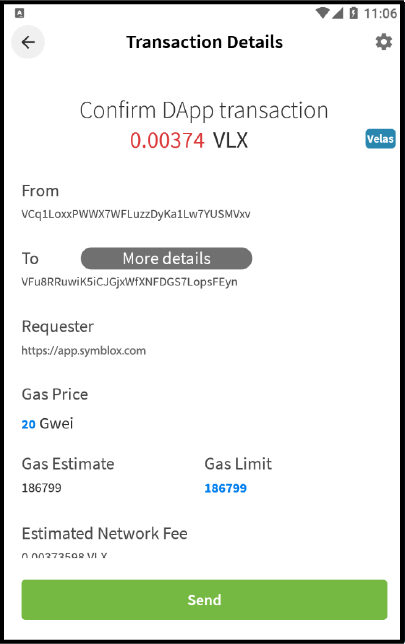
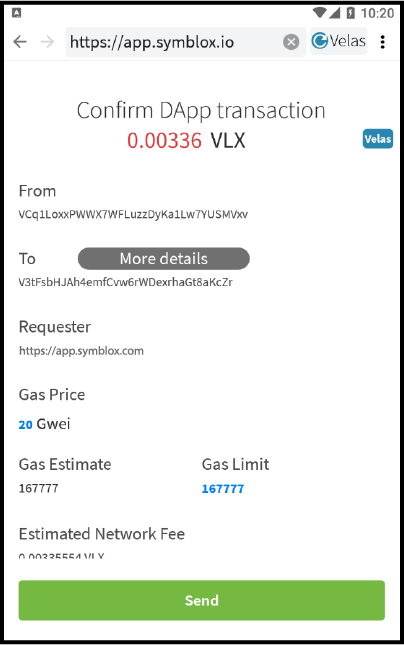
Click ‘Send’ to initiate transaction.
-
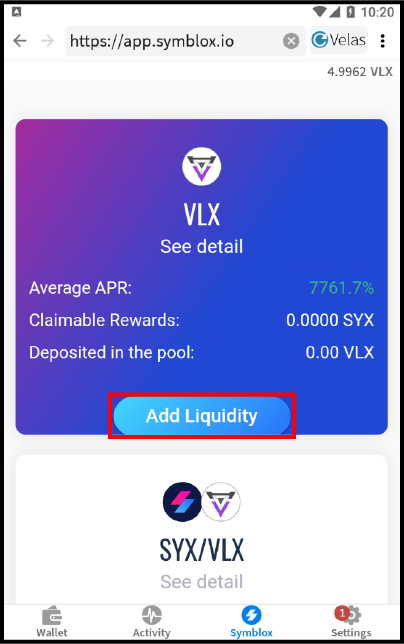
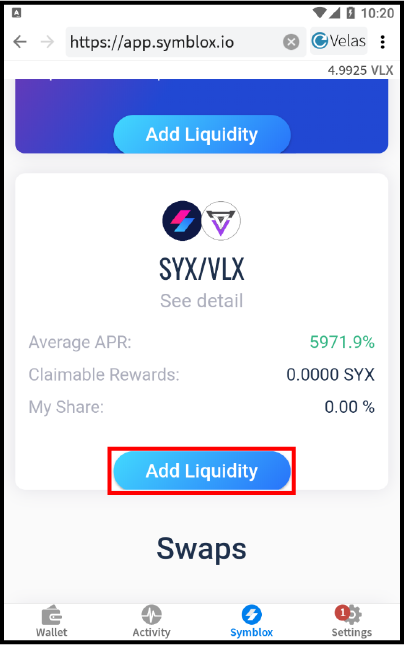
After joining, you can now add liquidity to the Seed Pool. Scroll to the blue box section of the Rewards Pool and click ‘Add Liquidity’.
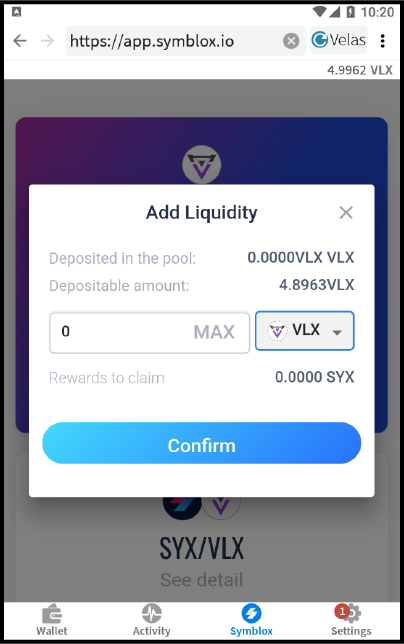
- Enter the amount of liquidity to add, then click ‘Confirm’.
d. Adding liquidity to the Swap Pool
-
Adding liquidity to the Swap Pool requires joining first. Scroll to the white box section of the Rewards Pool and click ‘Join’.
-
Click ‘Send’ to initiate transaction.
-
After joining, you can now add liquidity to the Swap Pool. Scroll to the white box section of the Rewards Pool and click ‘Add Liquidity’.
-
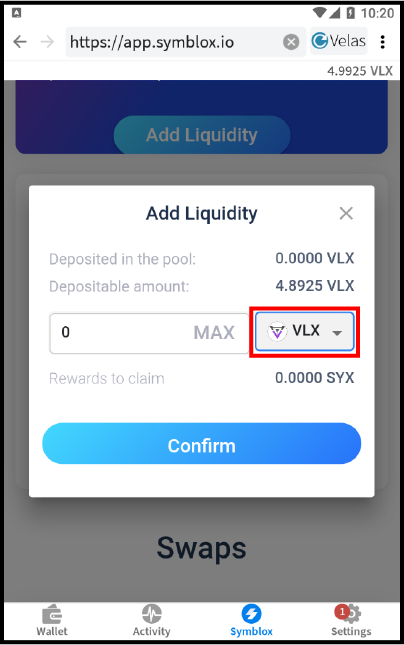
Click the drop-down list and choose either to add VLX or SYX. Enter amount of VLX or SYX then click ‘Confirm’.
-
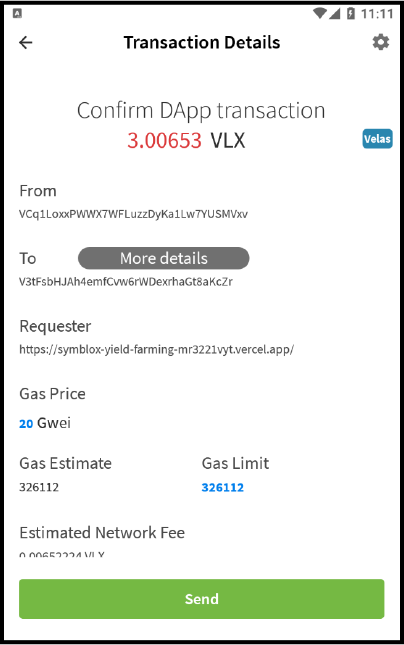
Click ‘Send’ to initiate transaction.
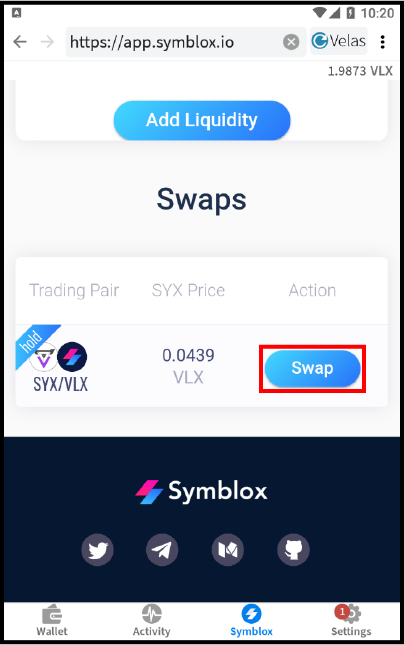
e. Swap Meet (Decentralized Exchange)
-
To swap VLX for SYX or vice versa, scroll to the ‘Swap’ section of the page and click ‘Swap’.
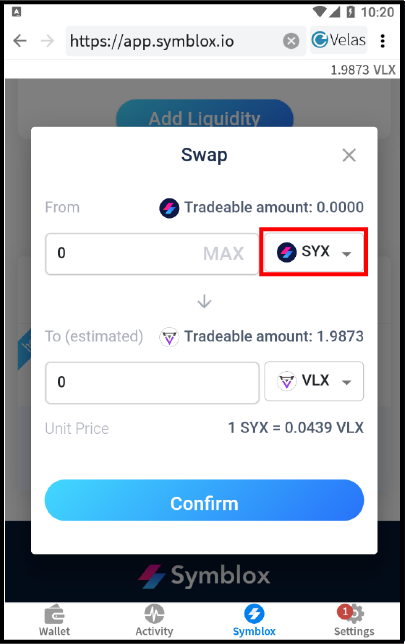
-
From the drop-down list, choose either VLX or SYX to swap from. Enter the amount to swap in the ‘From’ field. The conversion will automatically be calculated for the ‘To’ field. Click ‘Confirm’ when done.
-
Click ‘Send’ to initiate transaction.

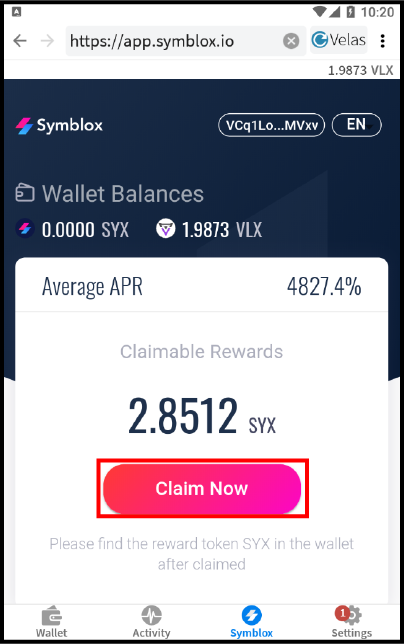
f. Claiming SYX rewards
-
Click on ‘Claim Now’.
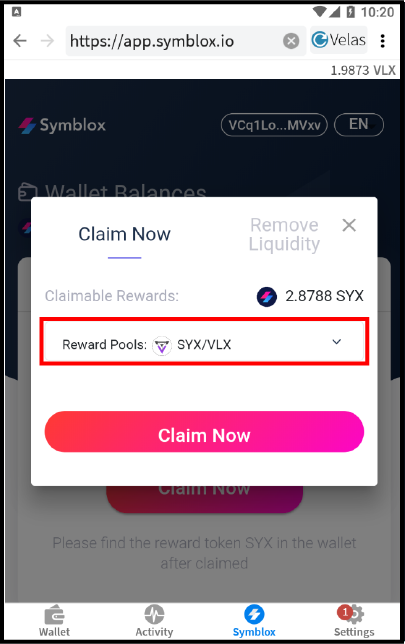
-
From the drop-down list, choose either the Seed Pool (VLX) or Swap Pool (VLX/SYX) to claim your rewards, then click ‘Claim Now’.
-
Click ‘Send’ to initiate transaction.
g. Removing liquidity from the Seed Pool or Swap Pool
-
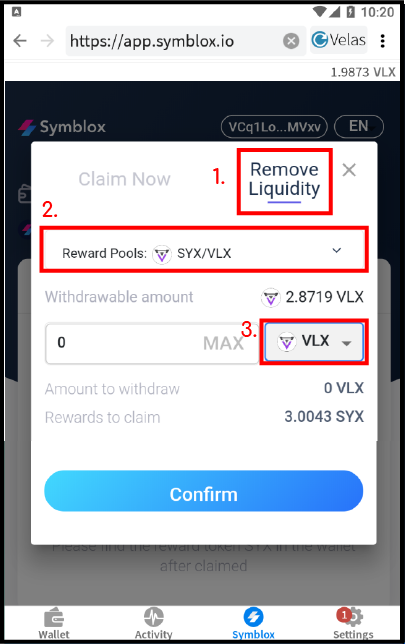
Click on ‘Claim Now’..
(1) Click on ‘Remove Liquidity’ tab.
(2) From the drop-down list, choose from the Seed Pool (VLX) or Swap Pool (VLX/SYX) to remove liquidity.
(3) If removing from the Swap Pool (VLX/SYX), choose either VLX or SYX from the drop-down list.
In the ‘Withdrawable amount’ field, enter the amount to withdraw then click ‘Confirm’.
-
Click ‘Send’ to initiate transaction.

- Click on ‘Symblox’ tab, then click ‘LAUNCH DAPP’.