symblox.github.io

Symblox Guide for PC
Friendly reminder:
- It is recommended that users use Velas DeFi Wallet, which also supports Ethereum addresses. MetaMask wallet does not currently support Velas addresses.
- The MetaMask wallet does not currently support Android operating system, and Velas DeFi wallet does not currently support desktop version.
- The UX for mobile version is similar between MetaMask and Velas Defi Wallet, however, the PC guide is strictly for MetaMask.
Download/Installation Tutorial
Step 1: Open https://metamask.io/ in Google or Firefox browser (here Google Chrome is used for demonstration), click download, select the operating system, or directly enter Metamask wallet in Google “Apps” download.
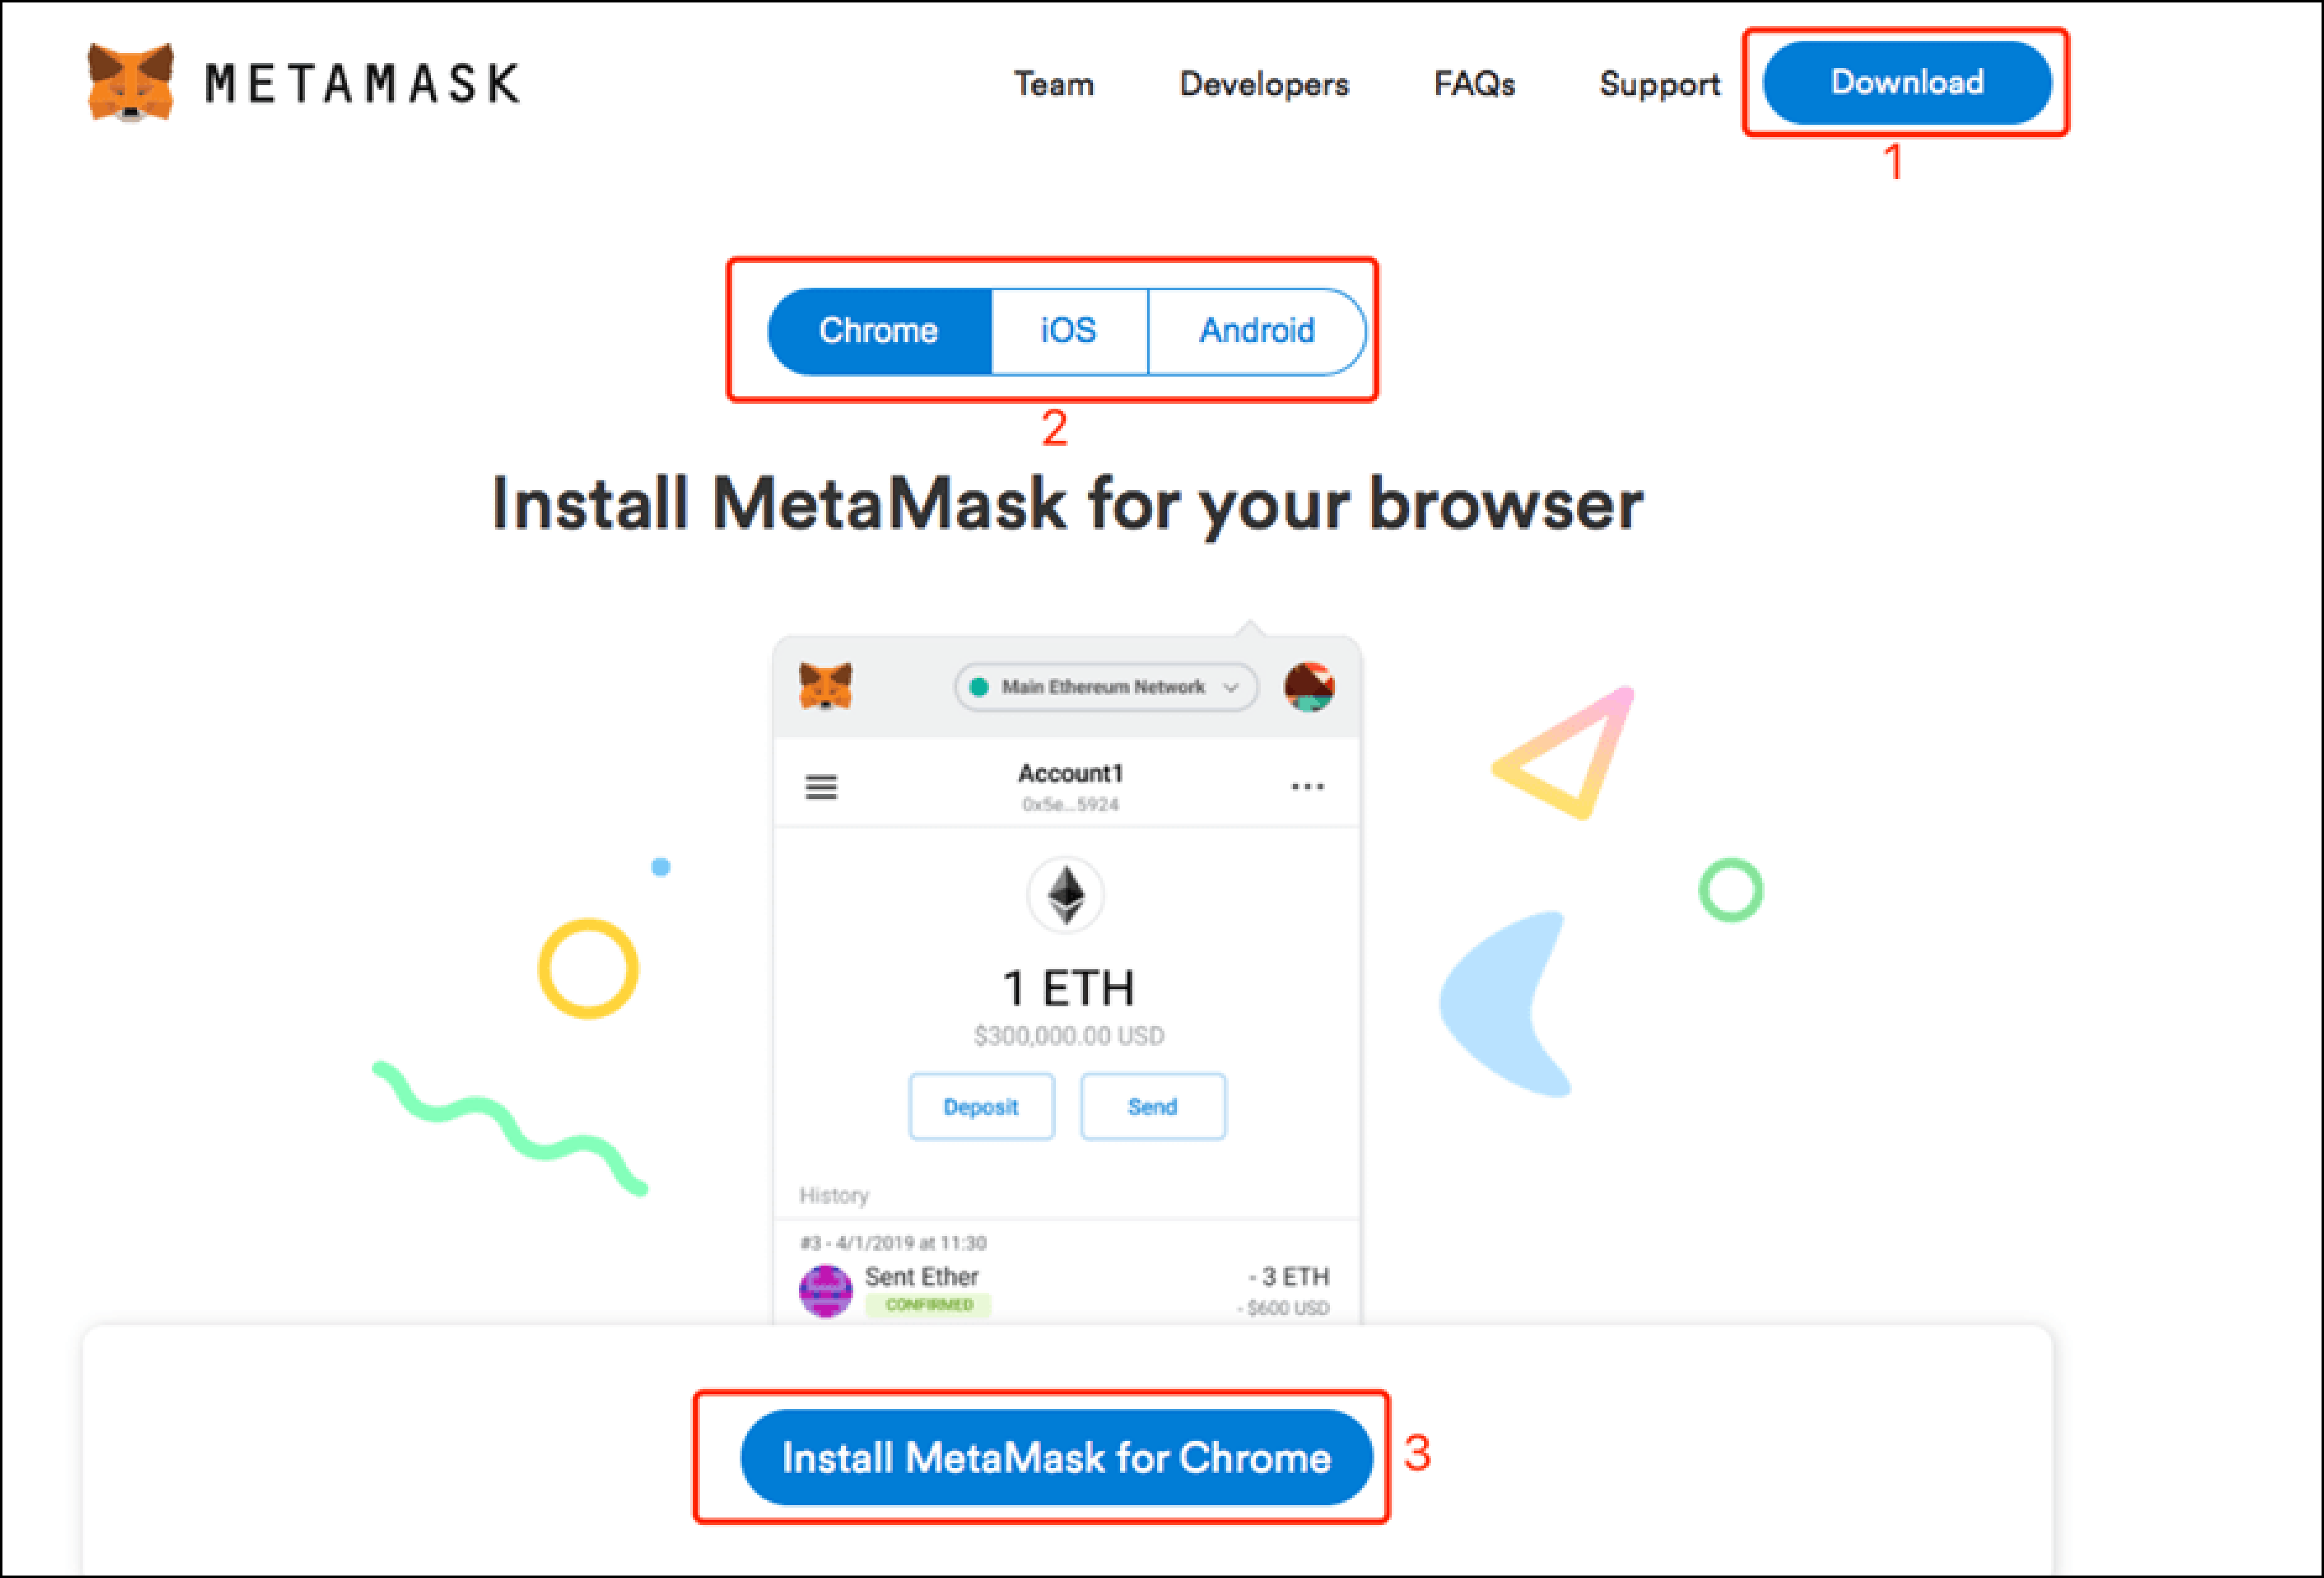
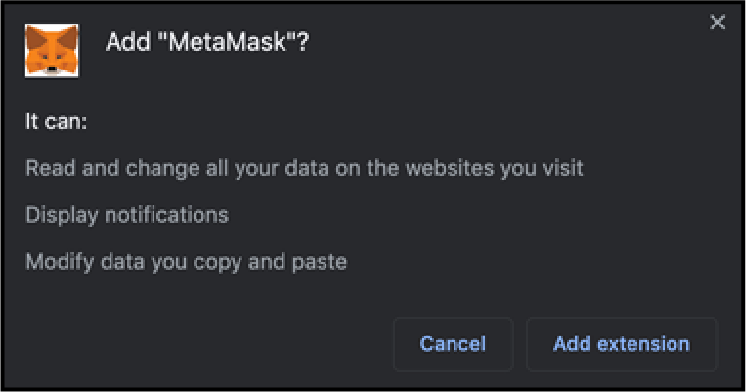
Step 2: Add MetaMask wallet to Google Chrome, click “Add to Chrome”.

Click ‘Add Extension’.
Click ‘Get Started’ to finish.

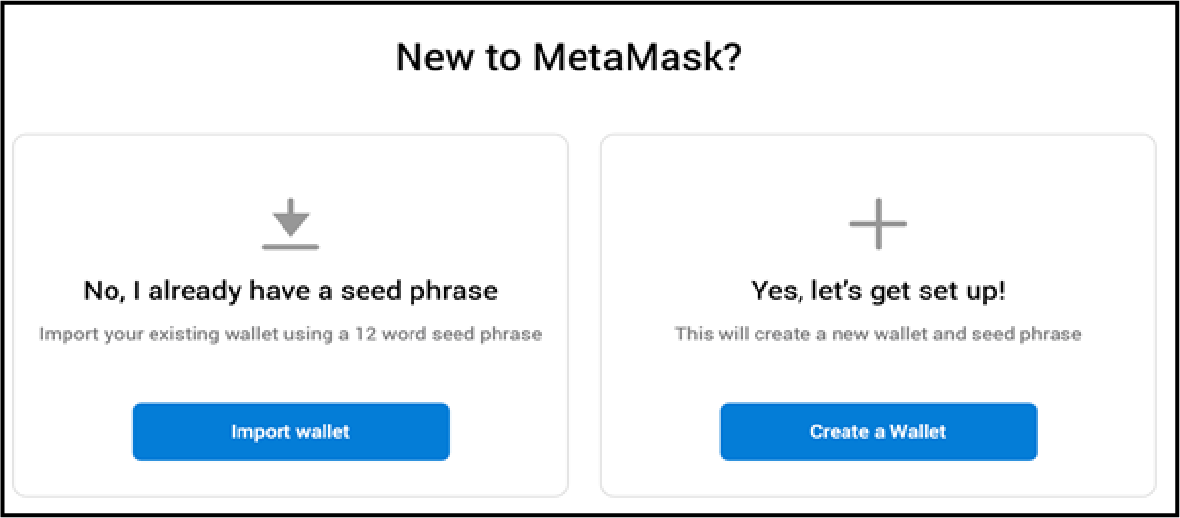
Step 3: Import or create a wallet. If you are a new MetaMask wallet user, you can create a new wallet. If you already have a MetaMask wallet, you can directly import the wallet address. The process is as follows:
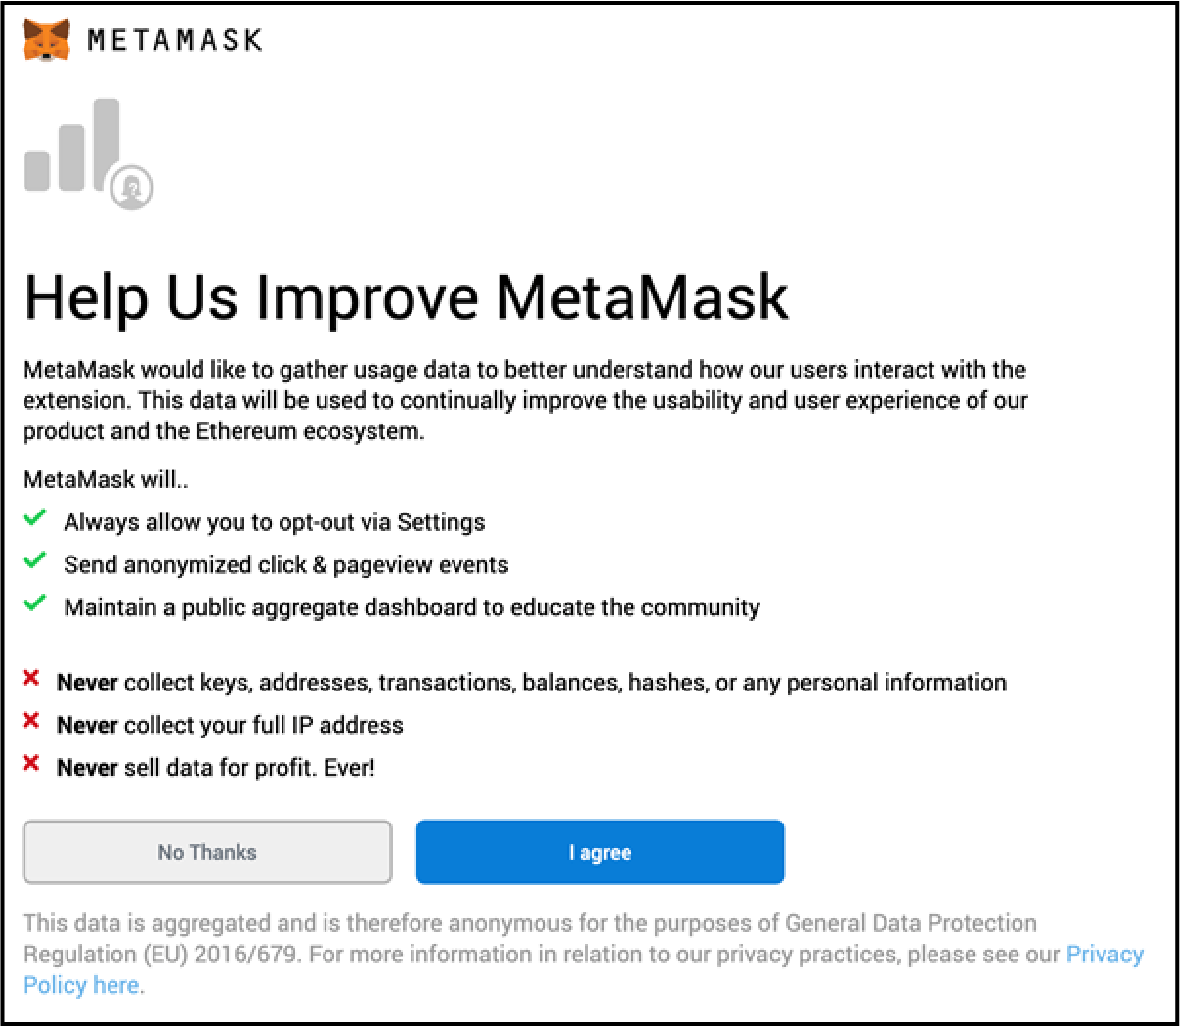
For New Users: Click on “I agree” on the “Help Us Improve MetaMask” page.
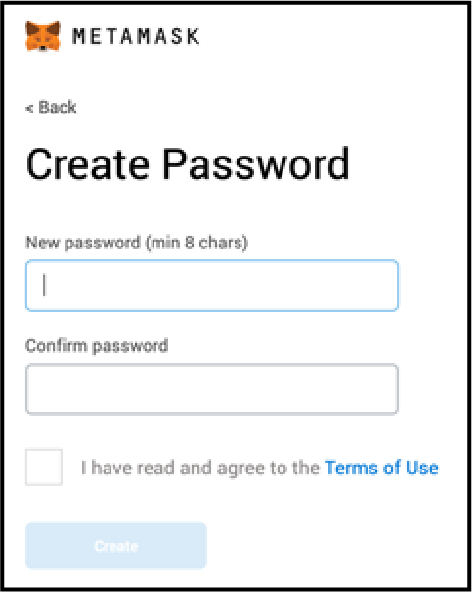
Set up a password (minimum 8 characters), then click on “I have read and agree to the Terms of Use, then click “Create”.
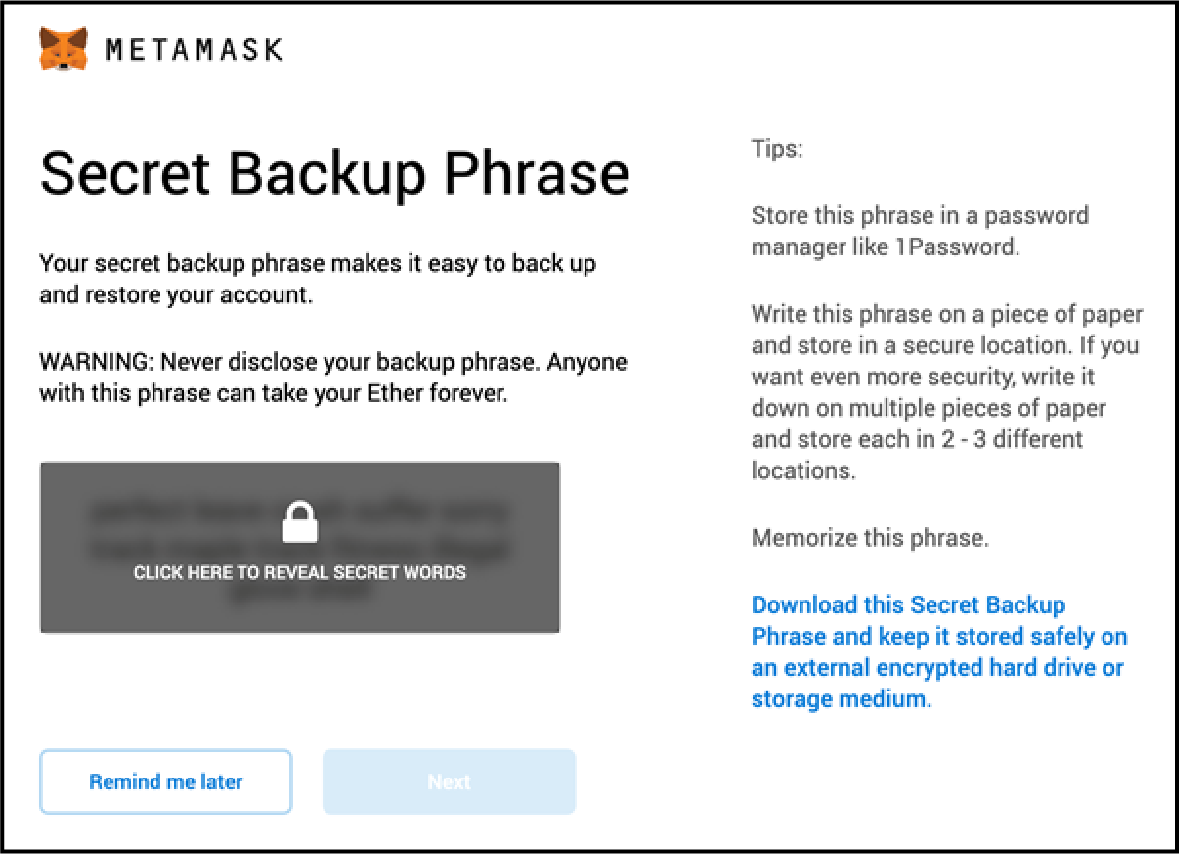
You will need to confirm your secret backup phrase in order to activate the wallet.
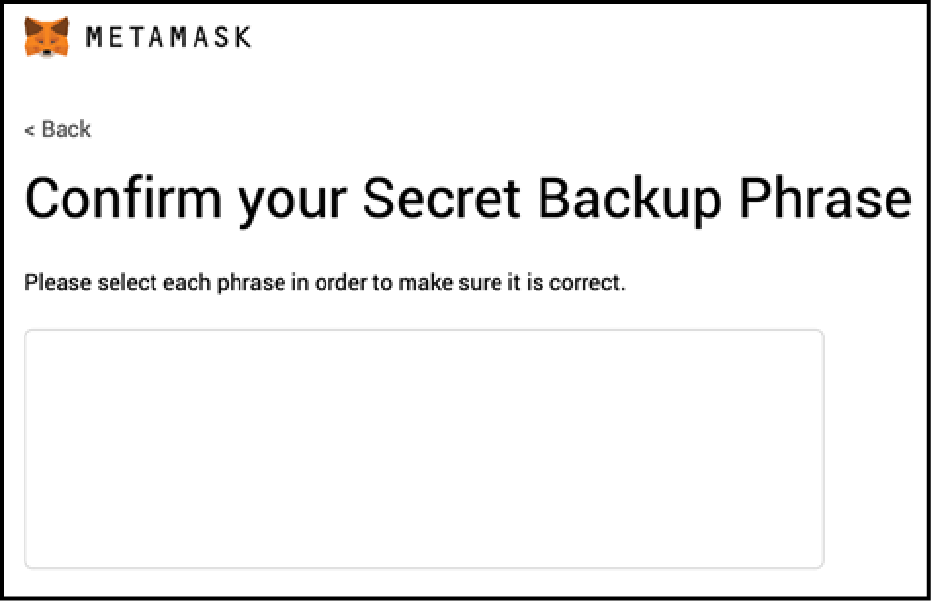
Type in your backup phrase to verify.
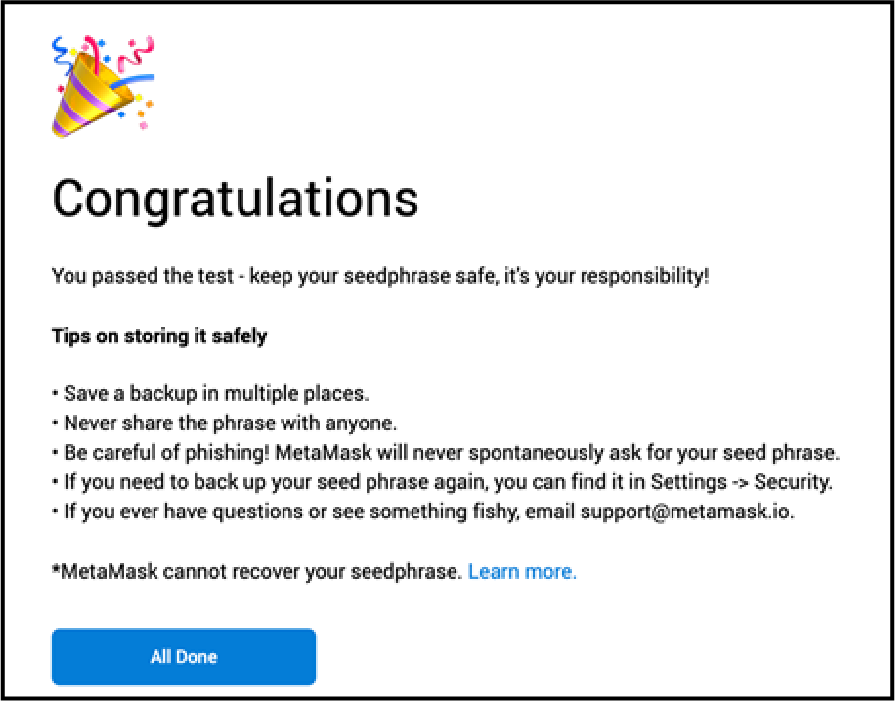
Click ‘All Done’ to finish.
Adding Velas Network to Metamask
Step 1: Open the official Symblox website: https://symblox.io/ then click on “Launch DAPP”.
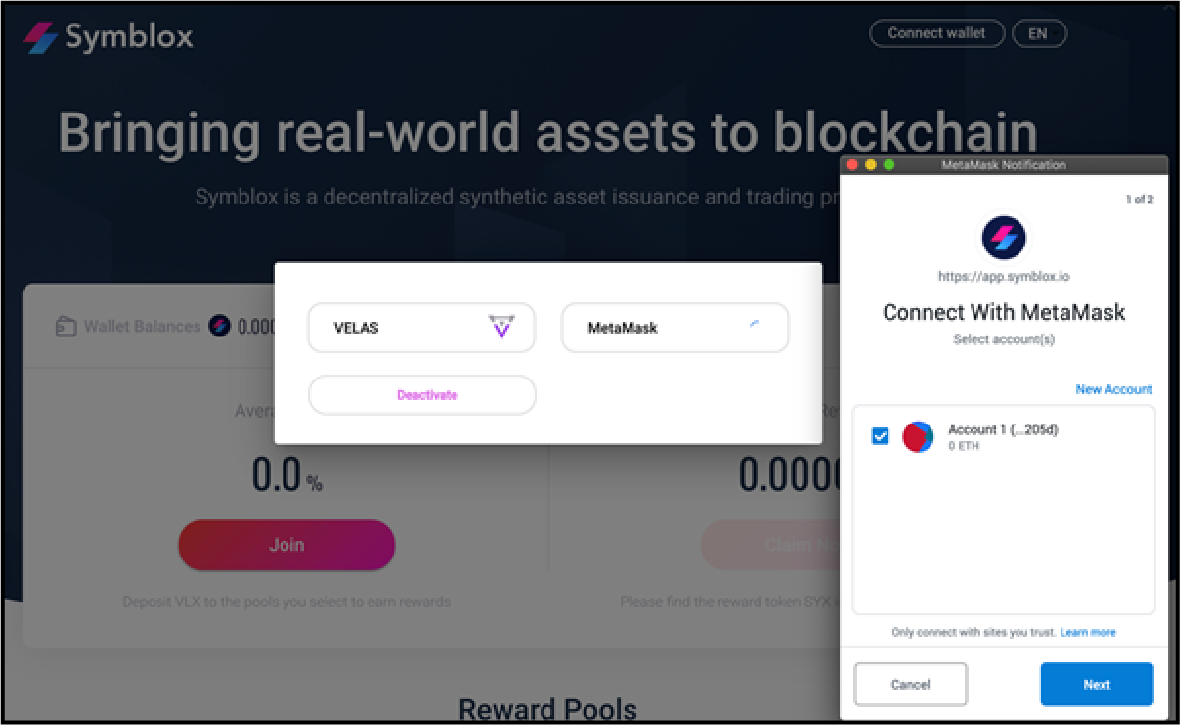
Step 2: Click “Connect wallet” on the upper right-hand corner, then select “MetaMask” and click “Next”.
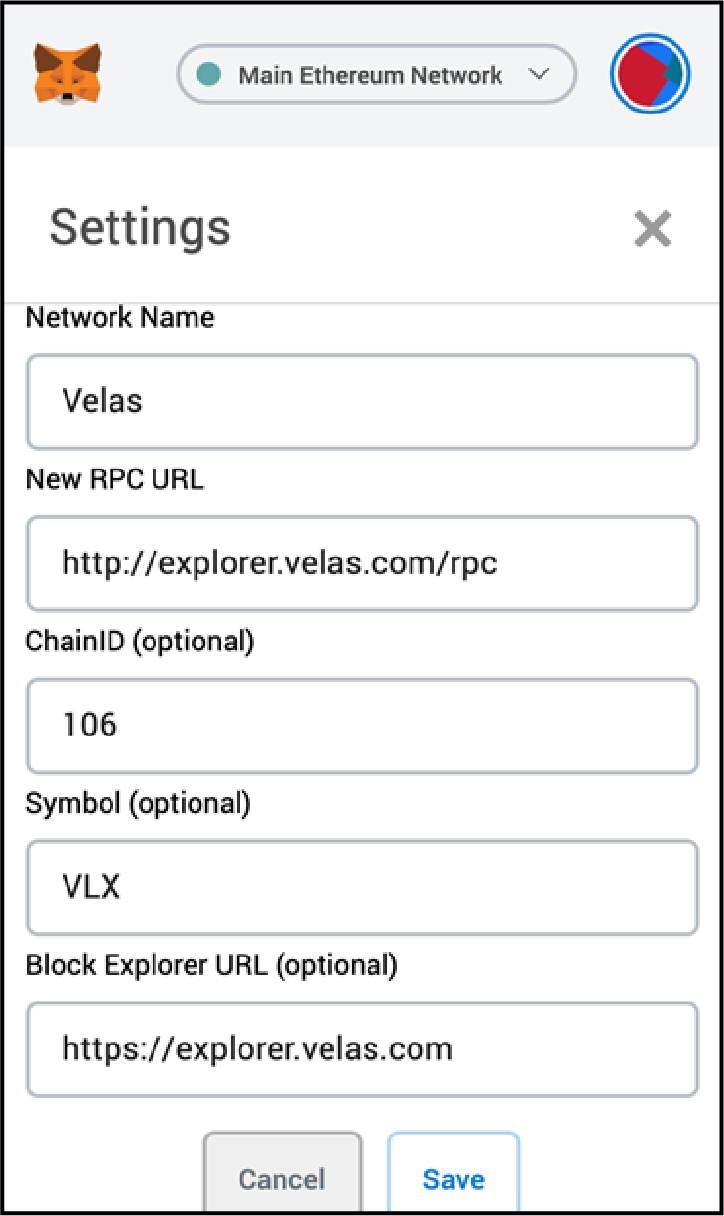
After connecting, click on the fox icon in the upper right-hand corner. The default network is “Main Ethereum Network”, click on the drop-down list and choose “Custom RPC”.

Input the following settings for Velas Mainnet.
| Settings | Value |
|---|---|
| Network Name | Velas |
| New RPC URL | https://explorer.velas.com/rpc |
| ChainID | 106 |
| Symbol | VLX |
| Block Explorer URL (optional) | https://explorer.velas.com |
Note: Metamask currently does not support Velas address formatting. This means that when you transfer your VLX from an exchange to your wallet, you will get ‘Invalid Format’.
Converting Ethereum 0x to Velas address formatting
Access Velas Web Wallet
Go to Velas Official website https://velas.com/ to learn more about setting up Velas Web Wallet.
If you already have an account or want to create a new account you can go directly to to Velas Web Wallet at https://wallet.velas.com/
Note: You will not be using Velas Web Wallet to connect to Symblox dApp. You only need to access Velas Web Wallet to use it’s address conversion utility.
Go to https://wallet.velas.com/ login screen. Type your password and click ‘Enter’
If you don’t have an account, click ‘New Account’ and follow the instructions.
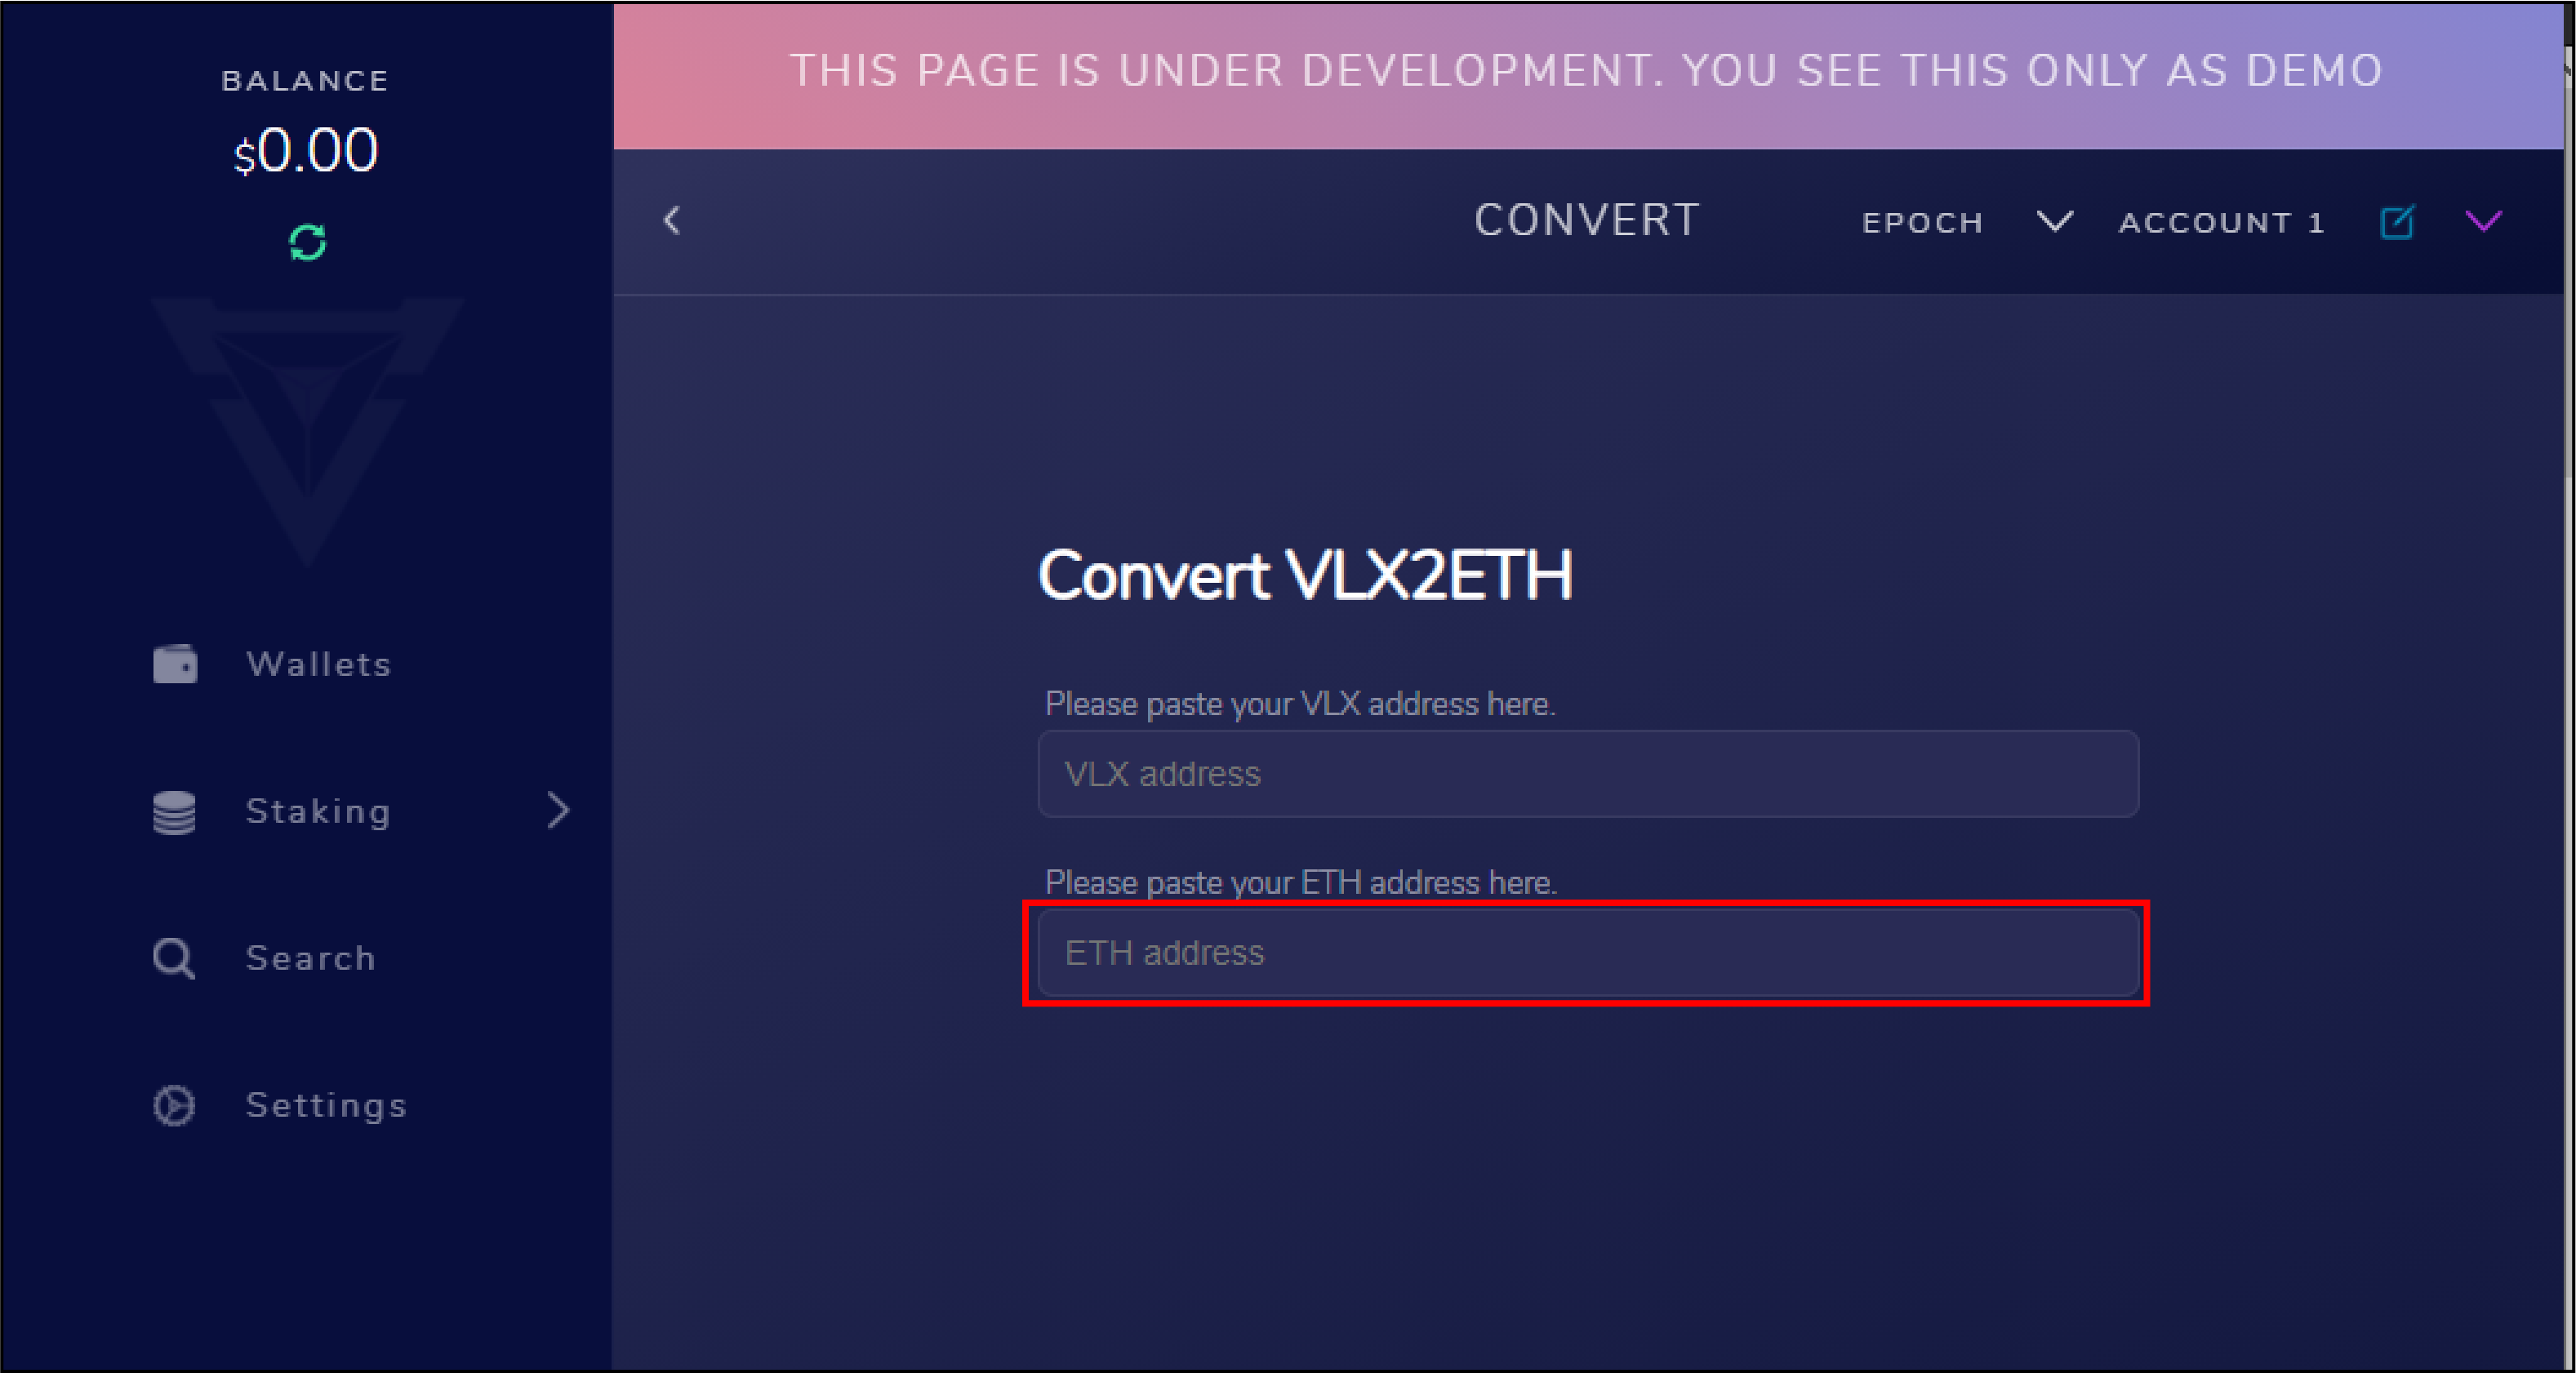
From the left menu, click the ‘Search’ tab. On the right column, scroll down the list and click on ‘Convert VLX2ETH’.
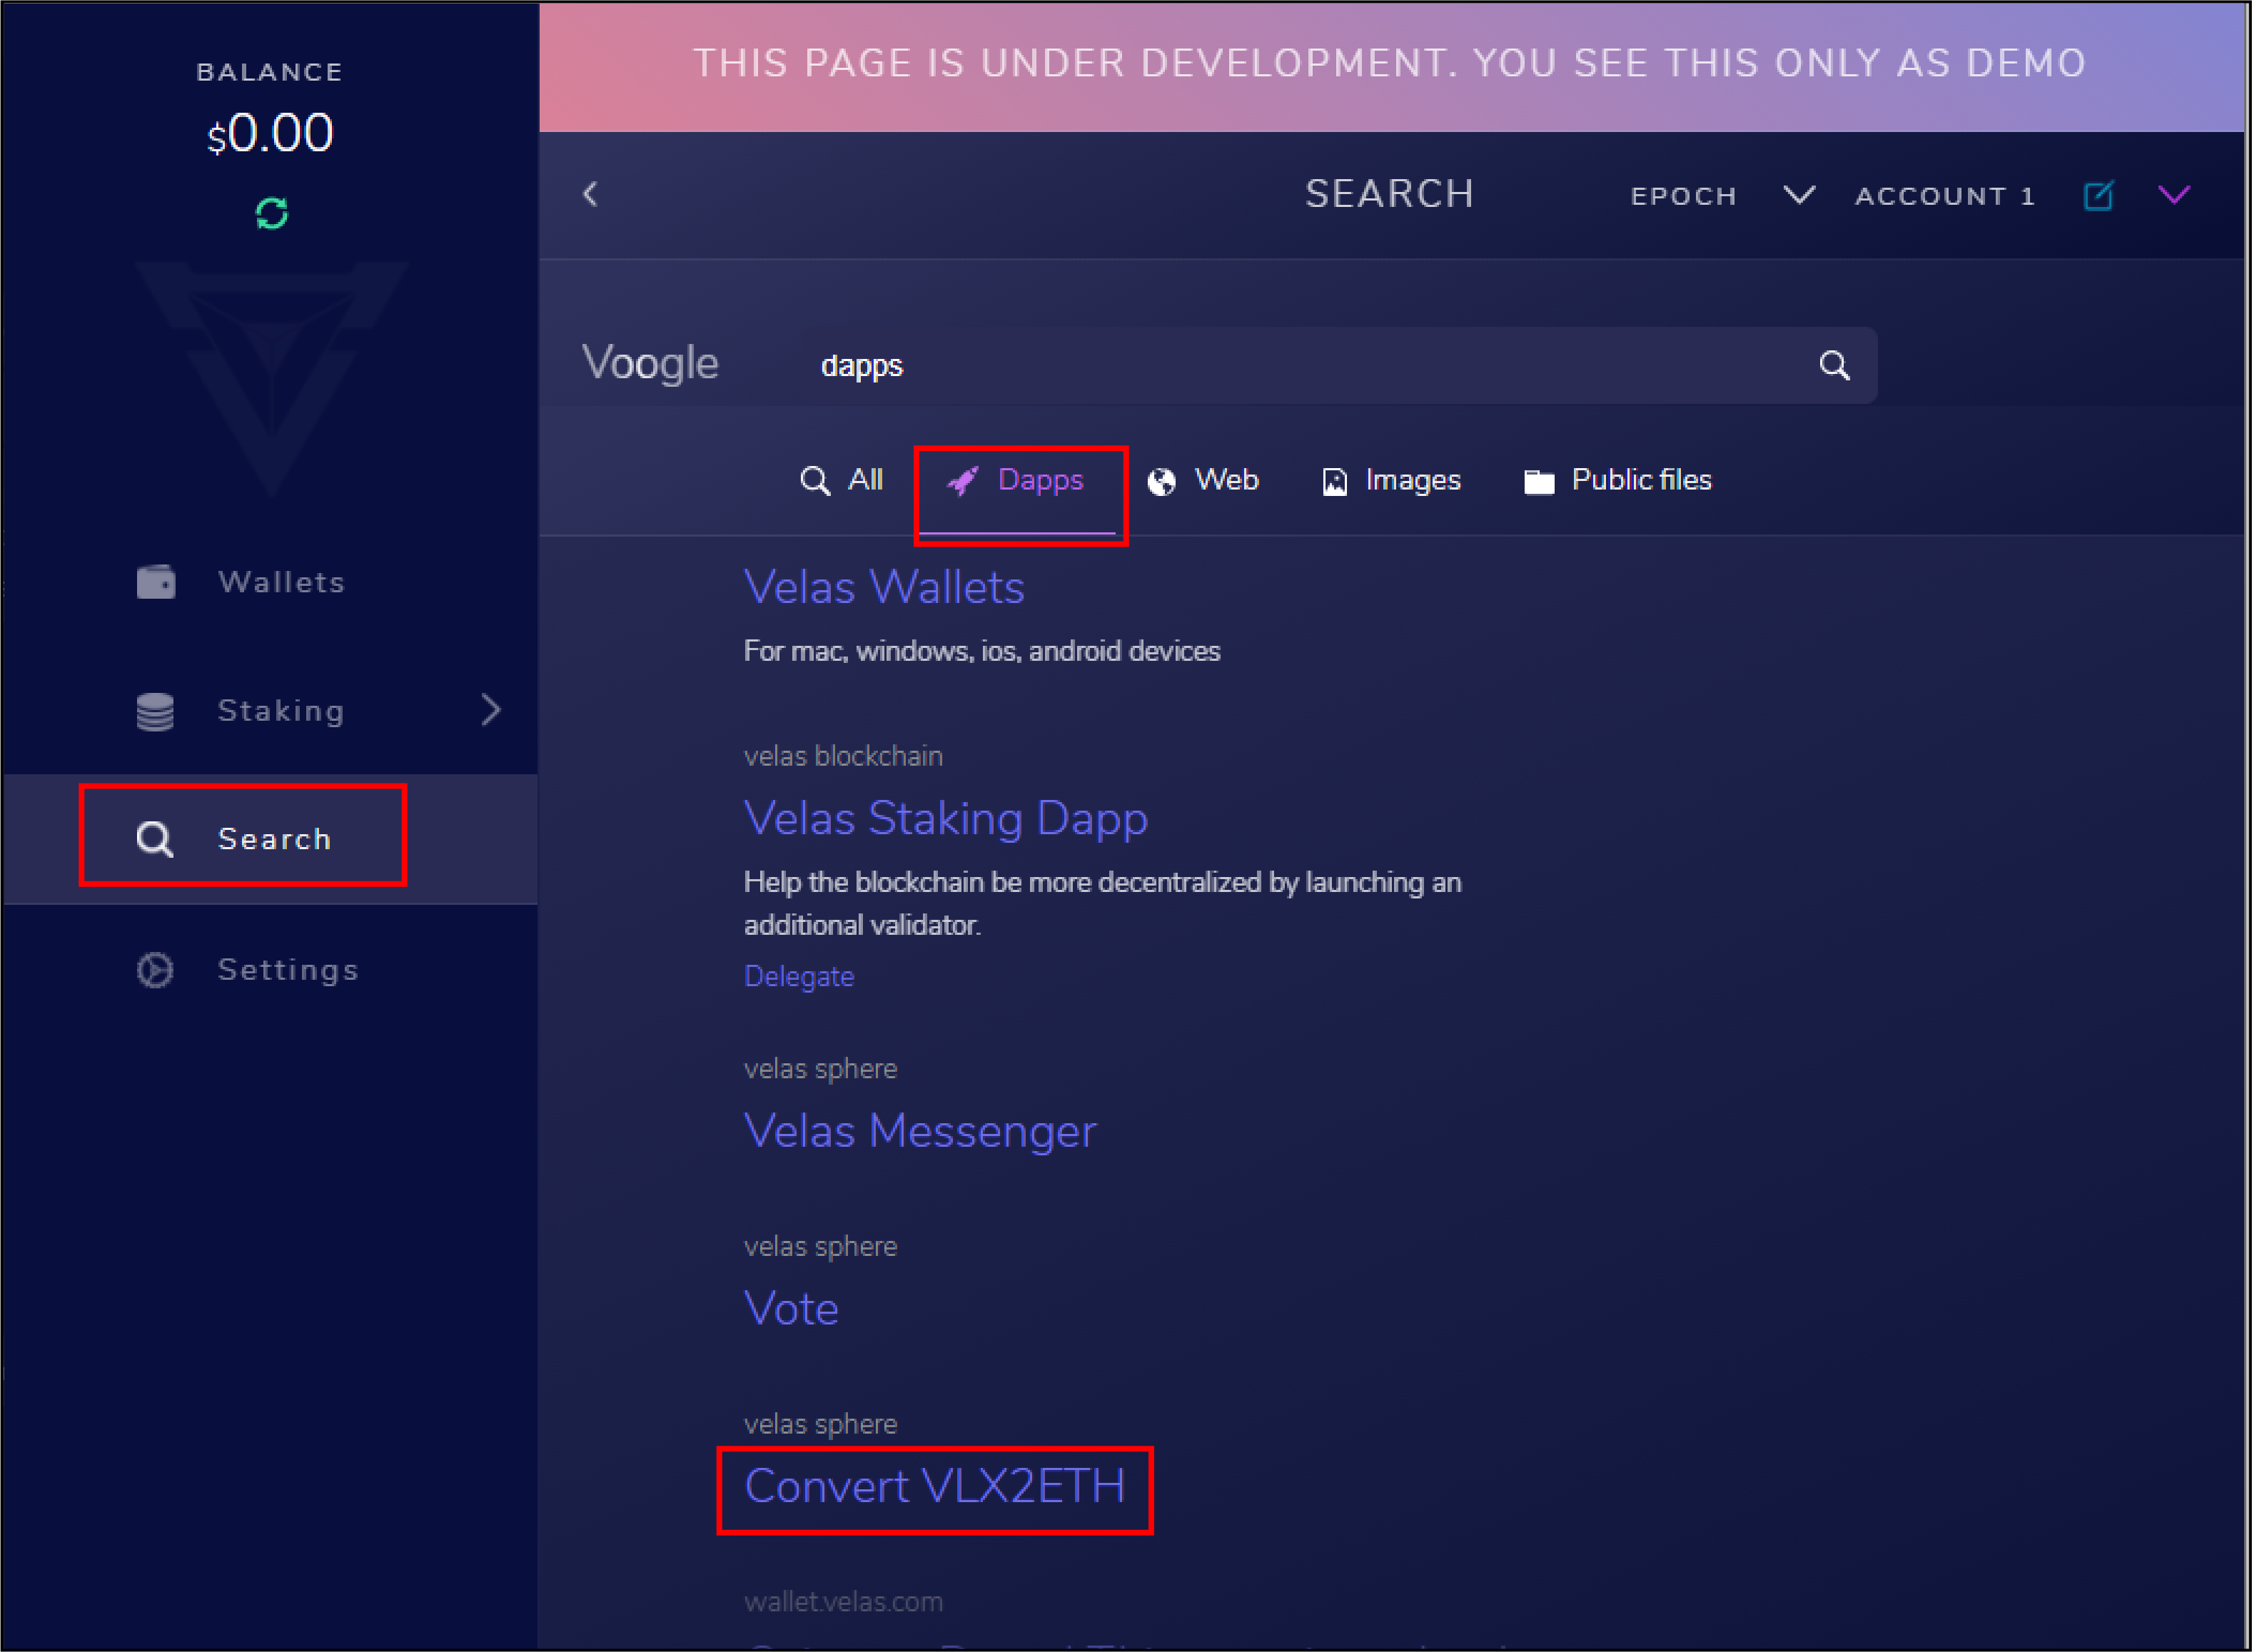
Paste your Ethereum address in the bottom field. It will automatically convert to VLX address formatting in the top field and vice versa.
